- Retail
- Clothing
Clothing Store Floor Plan
- m²
- 268
- Fitting Rooms
- 2
A clothing store with one open sales floor: two island display tables in the middle, fixtures along the walls and a cashier counter to one side. Two fitting rooms sit side by side at the back, next to the door to a stock room, a staff lounge and a restroom.
Downloading and sharing are not available yet. Adapting this layout means describing it to the AI generator, which spends credits.
Room breakdown
Room areas are net of wall thickness and circulation, so they add up to less than the stated total. Use these figures as the baseline when you describe changes to the generator.
| Room | Dimensions | Features |
|---|---|---|
| Sales Floor | About 20.0 × 7.7 m (154 m²) | Two island display tables, wall shelving and rails |
| Cashier Counter | About 4.3 × 3.0 m (12.9 m²) | Counter with a till and two chairs |
| Fitting Rooms (×2) | About 5.1 × 2.4 m (12.2 m²) | Side by side along the back wall, each with a chair |
| Stockroom | About 8.4 × 4.0 m (33.6 m²) | Empty room for stock, door to the sales floor |
| Staff Lounge | About 7.1 × 4.0 m (28.4 m²) | Table, chairs and a storage unit |
| Restroom | About 4.4 × 4.0 m (17.6 m²) | Toilet and basin |
Key specifications
- Total Area
- About 268 m² (2,885 sq ft), single level
- Sales Floor
- Open floor with two island display tables and wall fixtures
- Fitting Rooms
- Two cubicles side by side along the back wall
- Back of House
- Stock room, staff lounge and restroom
Common modifications
Three changes this layout takes well, with the area each one moves around.
Add two more fitting rooms
Two more cubicles fit beside the existing pair along the back wall, which matters most for stores where try-on rates are high.
Create a dedicated footwear zone
A 20 m² area with bench seating and wall display separates shoes from clothing, and the seating pulls double duty during busy periods.
Shrink the stockroom for more sales floor
Moving the stock room wall back releases floor to the sales area, workable if deliveries are frequent enough to keep back stock low.
How to customise this template
Pick the closest layout
Compare room lists, total area and plot width across the library, and choose the template nearest to your plot, unit or lease outline.
Note your changes
Write down what should change — rooms to add, resize or remove — in words you can give the generator, using the approximate room breakdown on this page as a guide.
Generate a new version
Describe the adapted layout to the AI floor plan generator, or upload a plan image to the floor plan editor and describe the edit. Each run spends credits.
Review before you build
Results are planning images, not permit-ready drawings. Export to DXF, PDF and PNG is planned but not live yet.
Clothing Store Floor Plan FAQ
Similar templates
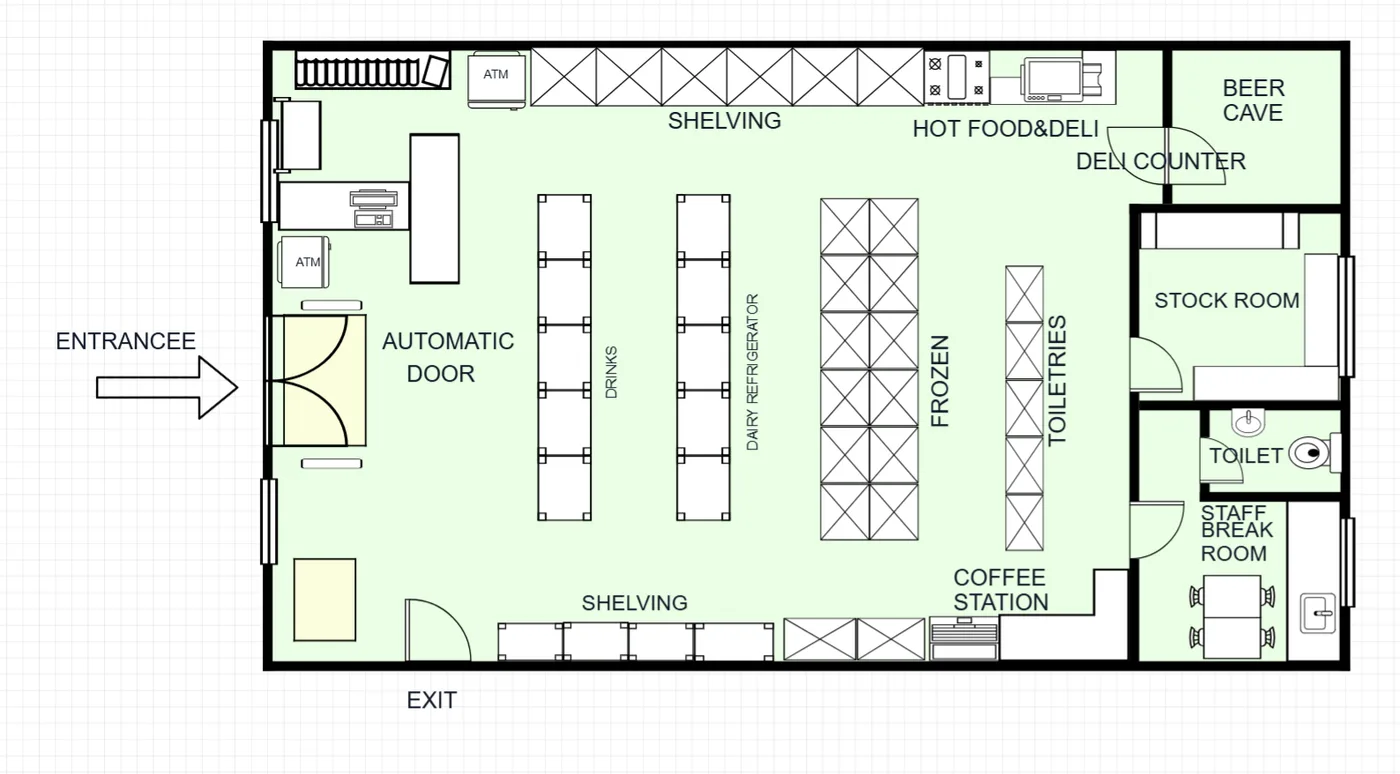
Convenience Store Floor Plan
410 m²4 Shelving Runs
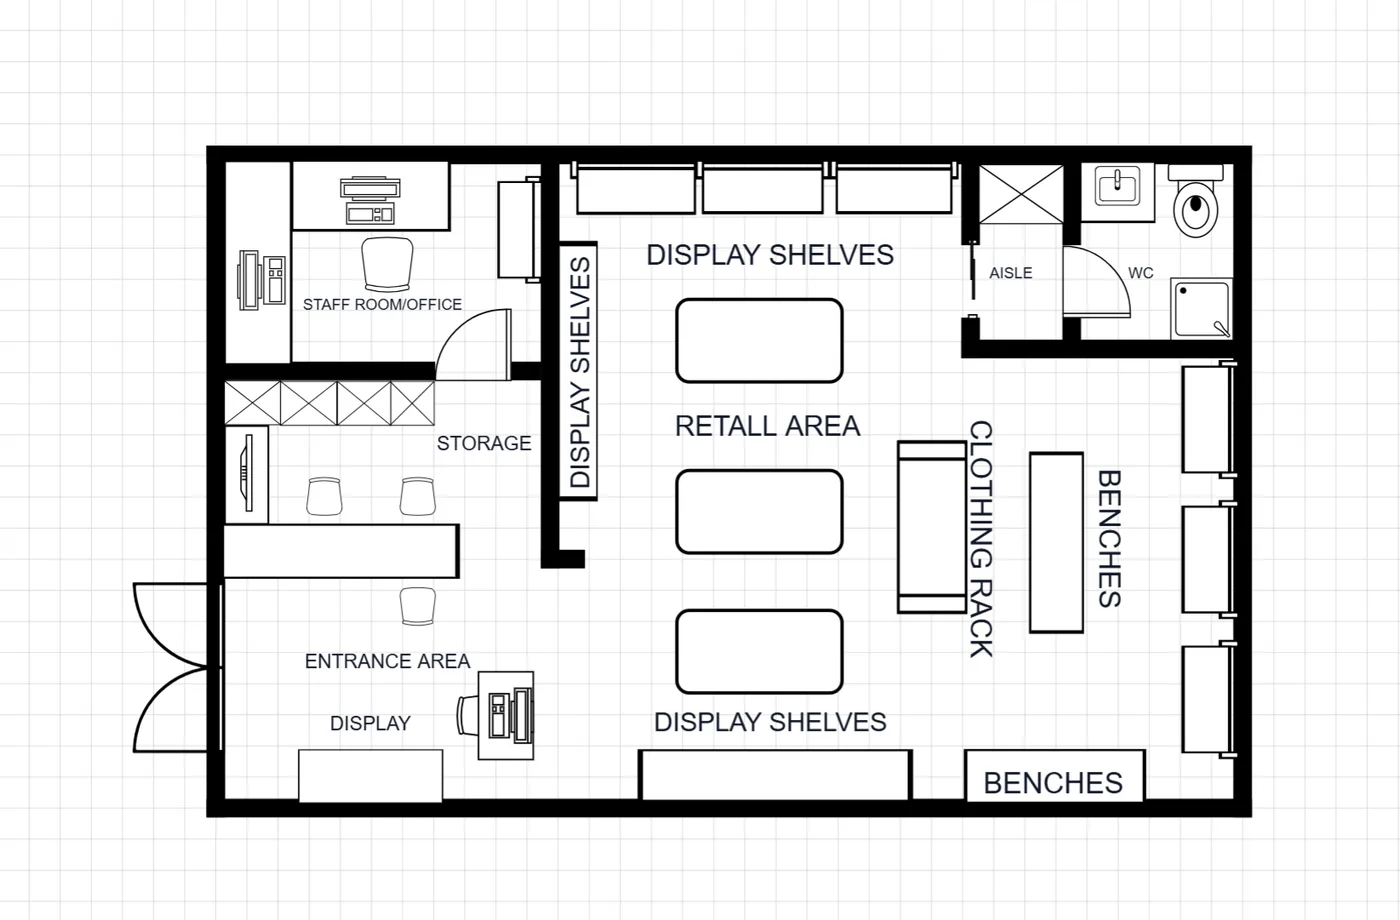
Shop Floor Plan
214 m²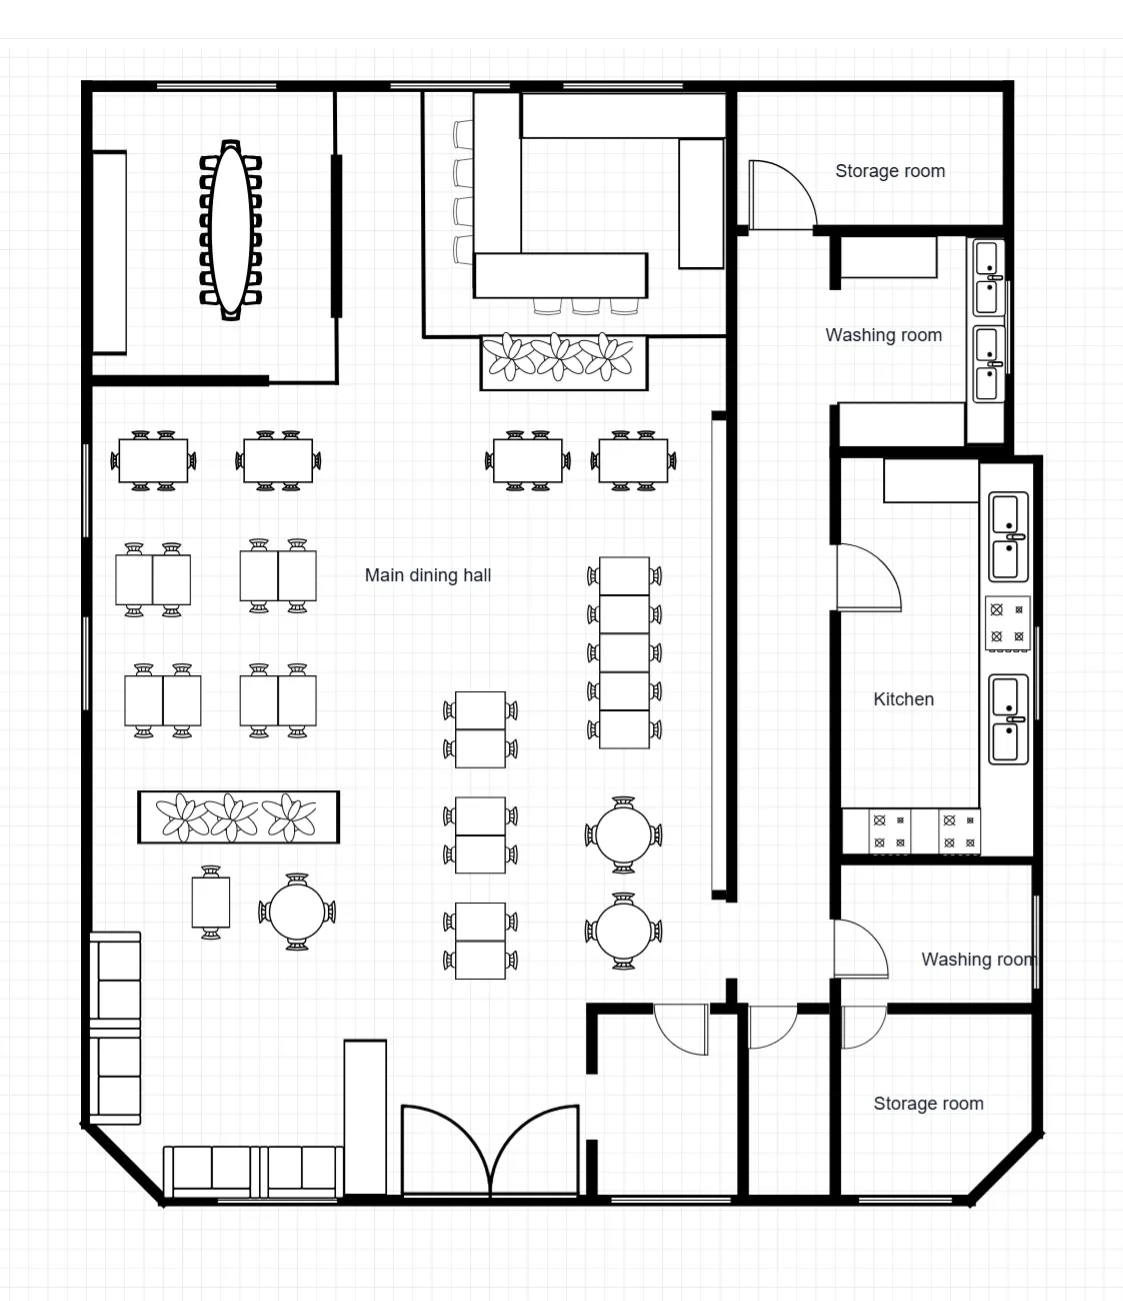
Restaurant Floor Plan with Bar
247 m²100+ Seats
Make this layout yours
Describe this layout and your changes to the AI generator, or generate a clean 2D plan from a written brief.