
For Interior Designers

Floor plan software for interior designers: show options, not one layout

Revision rounds are where the margin goes. Generate three layouts of the same room, show them as 2D plans and 3D-style images, and let the meeting end in a choice rather than in another round of changes.

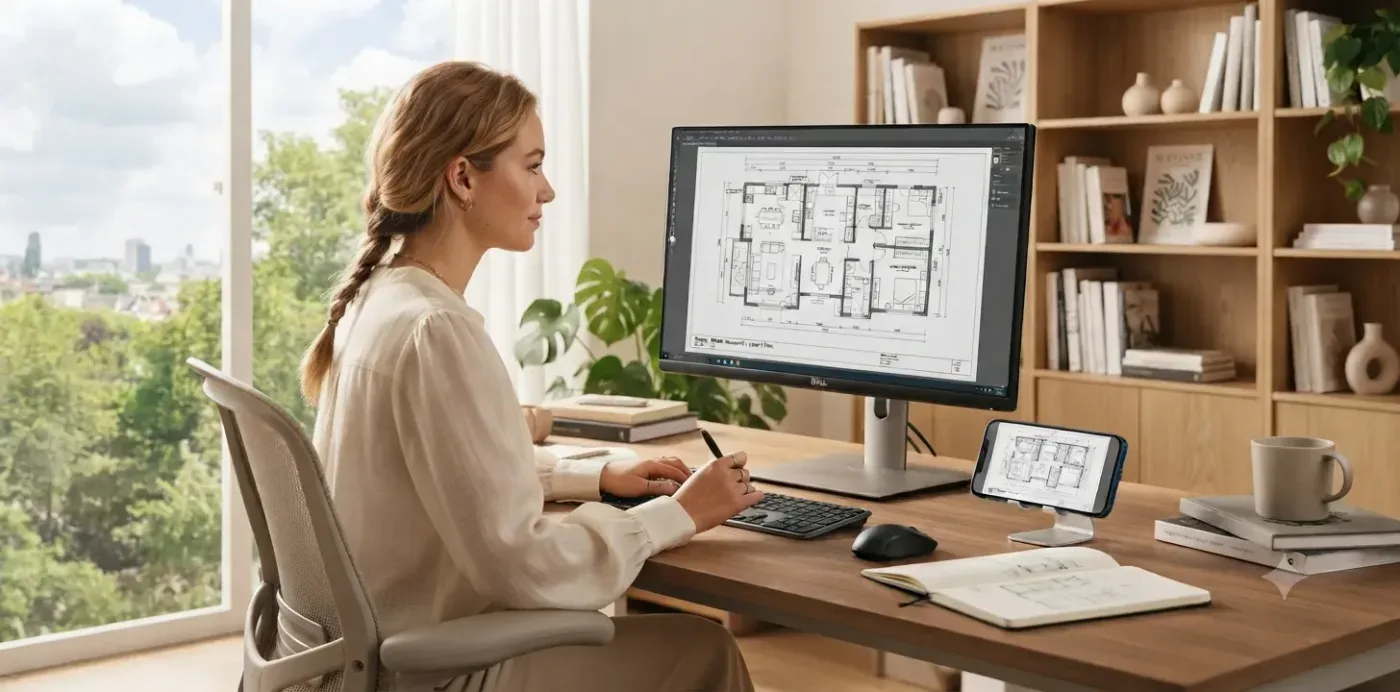
An interior designer at her desk looking at a floor plan drawing on a large monitor

The design reality

The expensive part of a project is rarely the design

It is the revision cycle. A client says the sofa should not face the window and a week disappears redrawing something that was already resolved everywhere except in their head.

The two usual tools pull in opposite directions. Full CAD gives you precision and takes time you cannot bill. Quick sketching gives you speed and produces something that does not look like a deliverable.

What shortens the cycle is presenting alternatives. A client choosing between option A and option B is making a decision. A client looking at one layout is being asked to approve or object, and objecting is easier.

An interior designer holding fabric swatches and a tablet that shows a floor plan

Three client situations

Three briefs, three proposals, shorter approval loops

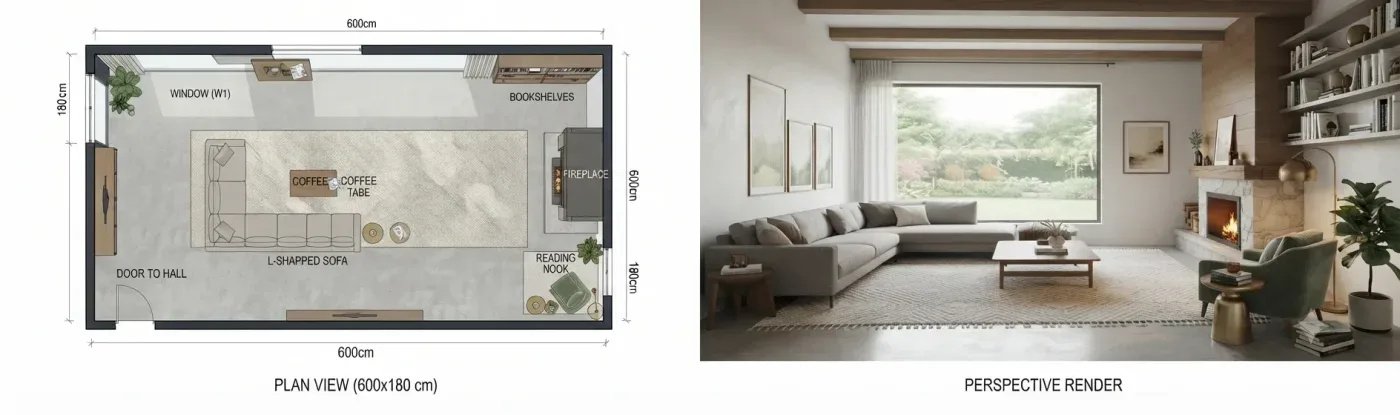
A living room plan with an L-shaped sofa and fireplace beside a perspective render of the same room

Scenario 1

They like the concept but cannot pick a layout — living room redesign

  1. Step 1

    Upload a photo of the existing plan, or describe the room from the client measurements, including the current furniture so the starting point is honest about what is already there.

  2. Step 2

    Generate three layout options for the same room and turn each into a 3D-style image, so the client is looking at the space rather than at a drawing convention.

  3. Step 3

    Refine the chosen one while they are still in the room by uploading it with the requested change, then put the plan and images into your proposal deck.
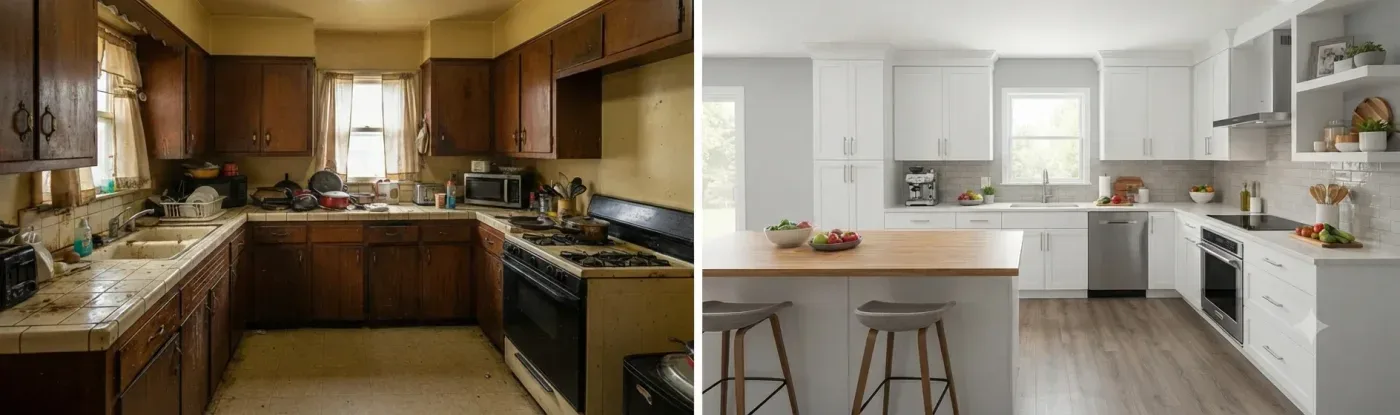
A dated kitchen before renovation beside the same kitchen renovated in white with an island

Scenario 2

There is no plan yet — new build or full renovation

  1. Step 1

    Describe the shell: external walls, structural columns, window and door openings. Everything internal is yours to specify.

  2. Step 2

    Generate the kitchen, dining and living relationship first, and treat furniture sizes in the image as approximate; confirm the partition line against measured drawings before committing to it.

  3. Step 3

    Keep a conservative version and a braver one. Presenting both is what turns the meeting into a choice instead of a negotiation.

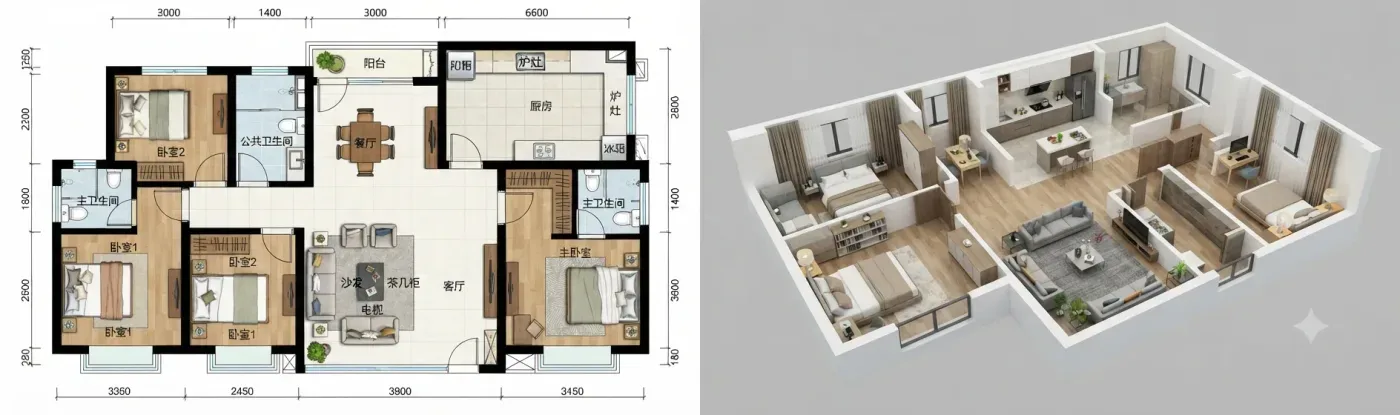
A colour floor plan with Chinese room labels beside a 3D cutaway view of the same apartment

Scenario 3

Three rooms have to read as one scheme — whole-home proposal

  1. Step 1

    Generate a master plan image covering everything in scope, and fix the material palette before any single room gets detailed.

  2. Step 2

    Furnish each room against that palette, keeping the flooring and wall treatments continuous so the scheme holds together across thresholds.

  3. Step 3

    Assemble the package: master plan image, room-by-room layouts and 3D-style views, alongside the measured drawings from whoever prepares the construction set.

Proposal toolkit

Six things that move a proposal from maybe to yes

None of these are about drawing better. They are about what the client is being asked to do in the meeting.

  1. Never present a single layout

    Two or three options change the question from whether they like your work to which version they prefer. That is a much easier question to answer in the room.

  2. Show the 3D-style image before the 2D plan

    Most clients do not read plans fluently. Give them the space first, then the drawing that explains it, rather than the other way round.

  3. Brand every deliverable

    Consistent typography, palette and layout across the proposal set make a proposal feel produced rather than assembled the night before.

  4. Include a furniture and materials schedule

    A schedule of furniture and materials next to the plan answers most contractor questions before they are asked. Exact placements and measurements still come from your own drawings.

  5. Keep the rejected versions

    The layout that did not suit this client often suits the next one. Saved iterations accumulate into a library rather than evaporating.

  6. Edit live in the meeting

    Making the change while they watch removes a whole round trip, and it makes the trade-off visible instead of arriving as a surprise a week later.

Worked example

How the workflow plays out on a living room redesign

A walkthrough of the steps, not a client anecdote. It shows how one room moves from measurements to an approved layout using features that exist in the product now.

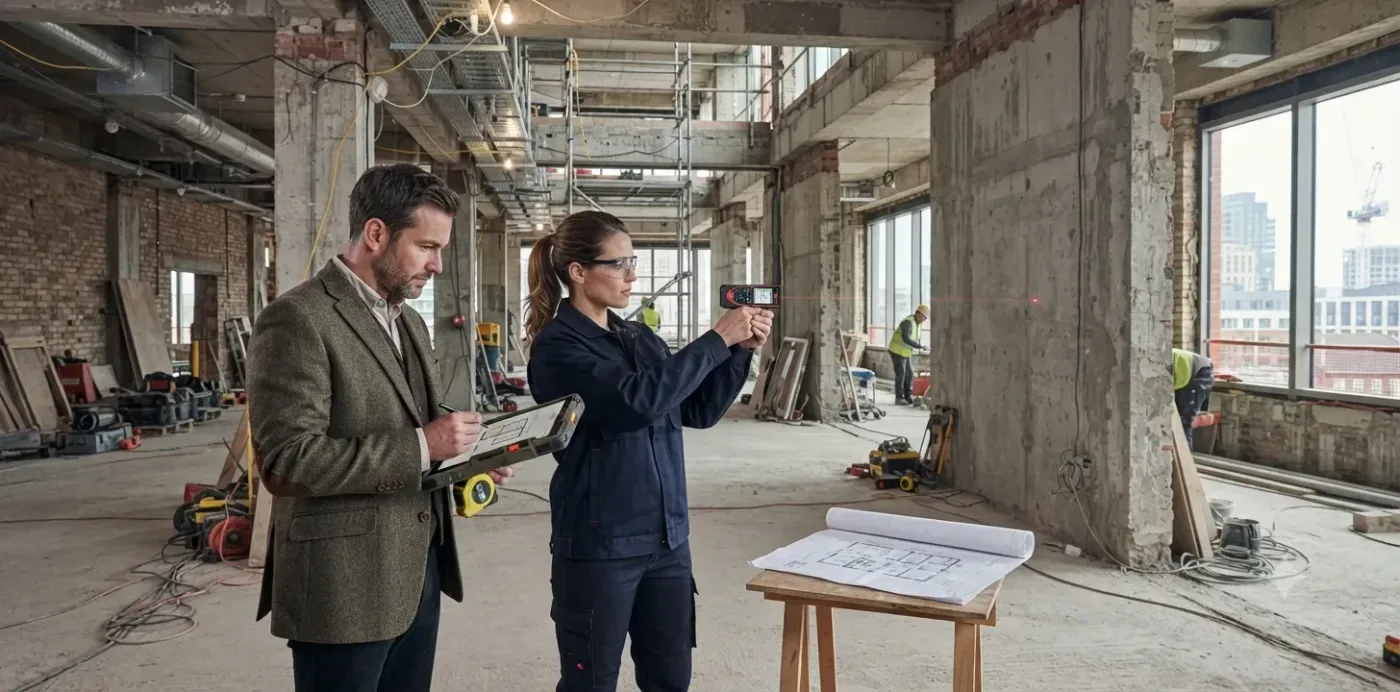
  1. Describe the existing room from the client measurements, including window positions, the radiator and the door swing, and generate a plan image.

  2. Upload that image three times with a different instruction each time: a conservative option, a bolder option, and one that reorients the seating entirely.

  3. Turn each option into a 3D-style image so the difference in sightlines is visible rather than described.

  4. Adjust the chosen option in the meeting by describing the change — move the sofa, widen the walkway — and keep each result as its own version.

  5. Put the plan, the 3D-style images and your material notes into the proposal package; measured drawings for the contractor still come from CAD.

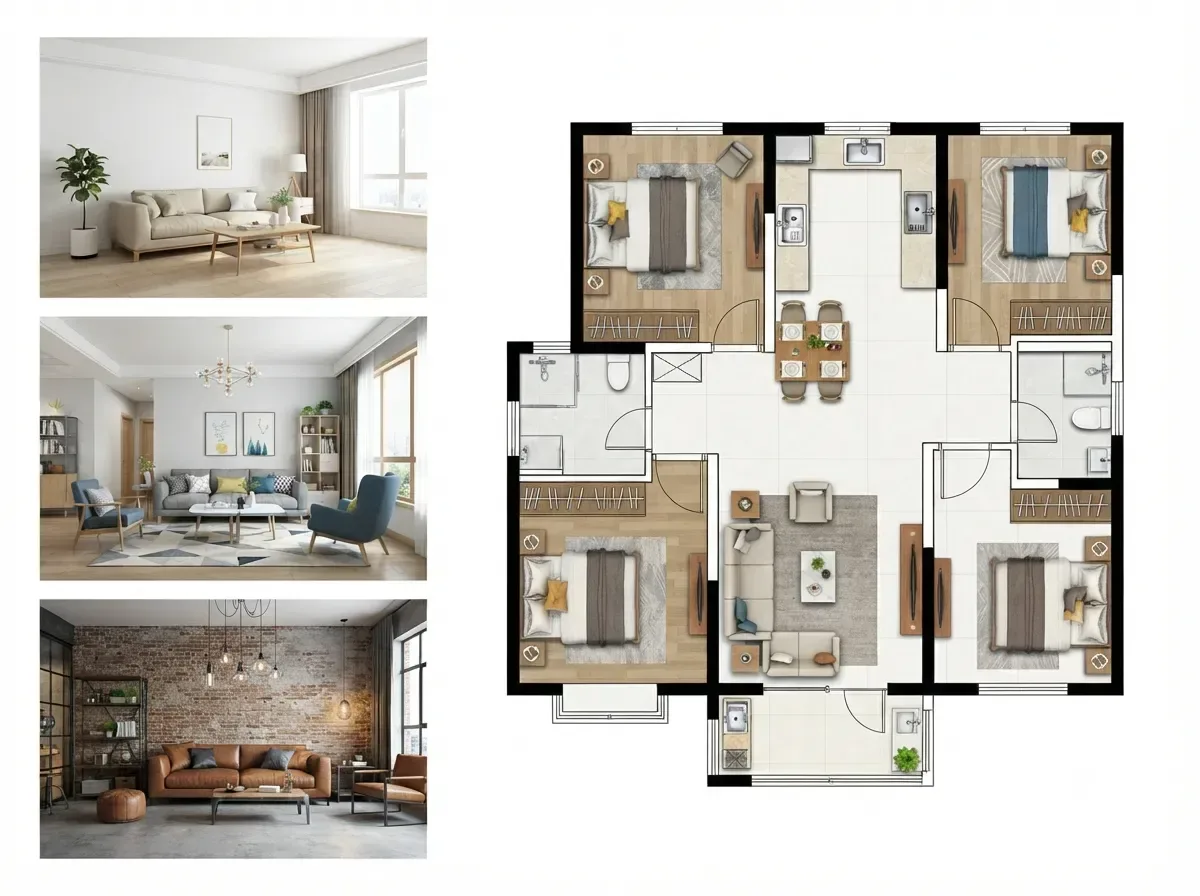
Three living room style options beside a colour floor plan of a three-bedroom apartment
Three style options for one living room, shown beside the apartment plan

What you end up with

The meeting ends with a selected option and one recorded tweak, instead of a list of things to try before the next meeting. The rejected layouts are kept and remain available for the next brief of the same shape.

Questions designers ask about layout options

Yes. Upload one photo, scan or sketch of the existing plan (PNG or JPG, up to 10MB) and describe the change you want, so you are correcting a layout rather than retyping one.

No. It is a fast way to picture options before CAD: try layouts here as images, then redraw the chosen one in AutoCAD, SketchUp or Revit for detailing. DXF export is planned, not live yet.

Keep every iteration. Saving the alternatives is what lets you put options side by side in a meeting, and what turns rejected work into a starting point for the next project.

Partly. You can ask for labelled furniture, fixtures and material notes in the description and the model draws them into the image, but you cannot place or resize items by hand, and generated text should be proofread. A full specification still belongs in your own schedule.

The plan and 3D-style images for the presentation deck and anything that gets emailed or printed. Whoever needs geometry works from measured CAD drawings; DXF export here is planned, not live yet.

Yes. Upload one photo of the empty room and describe the style, and the virtual staging tool returns a furnished version of that photo. It is a picture of the idea, not a measured layout, so pair it with the plan.

New accounts get 10 free credits, which can be spent on the Z-Image model at 2 credits per image. Every other model, including the upload-based tools, uses credits from a plan or a one-time pack on the pricing page.

Put options in front of the next client

Describe the room, generate the alternatives, and walk out of the meeting with a decision instead of a revision list.