
For Real Estate Agents

Floor plans for real estate agents, on every listing the same afternoon

Photographs show finish. A floor plan shows layout — which room connects to which, and how big the second bedroom really is. Generate one per listing from your walk-through notes or a photo of your sketch, without waiting on a supplier.

An agent in an empty apartment holding up a tablet that shows the room virtually furnished

The listing reality

The photographs are fine. The layout question still arrives.

Buyers ask the same things about every listing without a plan: how the kitchen connects to the living room, whether the third bedroom is a bedroom or a study, and which end of the property the bathroom is on. Each of those is a phone call that a single drawing would have answered.

A plan also filters. Someone who has already seen the layout and still books a viewing is a different kind of enquiry from someone who is coming to find out what the layout is.

The barrier has never been whether a plan is worth having — it is turnaround. Generating it yourself, in the browser, on the day you take the photographs, removes most of the wait.

An agent in a bright hallway holding a tablet that shows a floor plan

Three listing types

Three listings, three plans, fewer layout questions

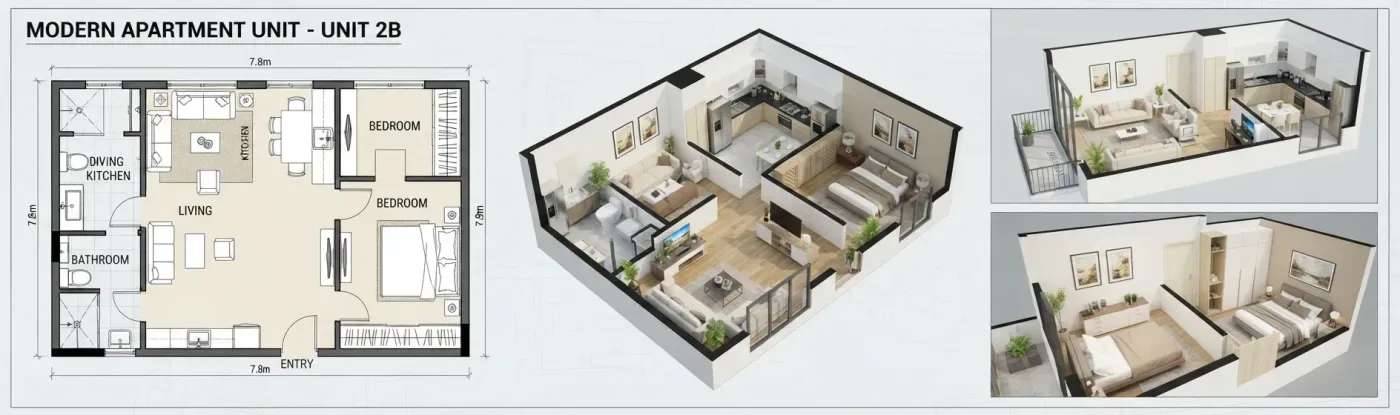
A labelled apartment floor plan beside 3D cutaway views of the same unit

Scenario 1

The listing is live and quiet — single-family house

  1. Step 1

    Start from whatever exists. Upload the old marketing plan or a photo of the sketch you made on the walk-through, and describe the clean version you want.

  2. Step 2

    Ask for what a listing plan needs: room names, approximate room sizes and a north point. Pick one style, such as Colored 2D or Technical, and use it for every listing so they look like they came from the same desk.

  3. Step 3

    Check every label and size against your notes, put the image near the top of the photo set rather than last, and mention it in the description so people know to scroll back to it.
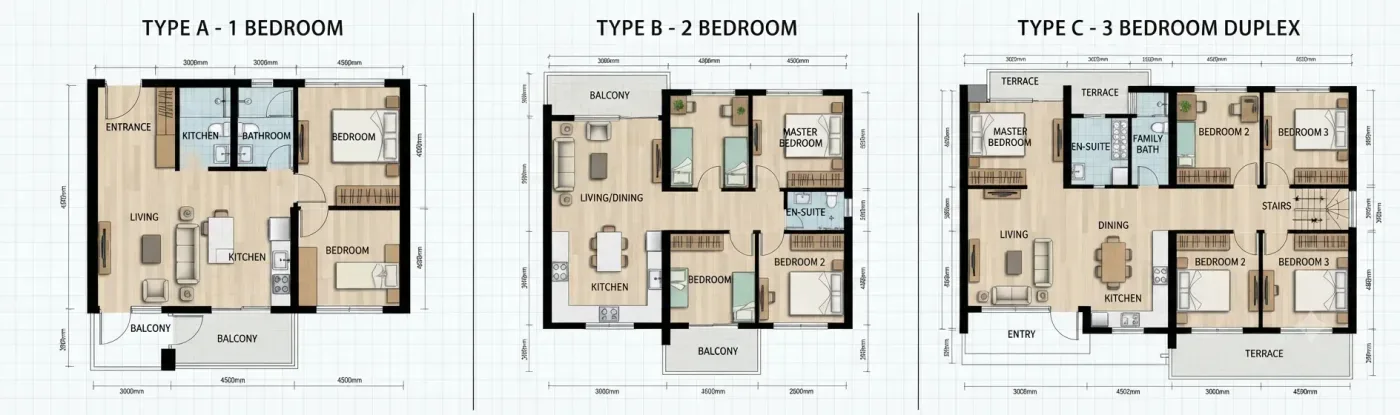
Apartment unit floor plans drawn in a consistent style

Scenario 2

Which unit justifies the premium? Multi-unit building

  1. Step 1

    Generate each unit type once — one-bed, two-bed, corner, top floor — in the same style, so the set reads as one.

  2. Step 2

    Put the plans next to each other so the difference is visible rather than asserted: the extra window, the wider hallway, the square metres the corner unit actually gains.

  3. Step 3

    Publish the set with the listing. Enquiries arrive naming a specific unit, which is a much shorter conversation than starting from the building.

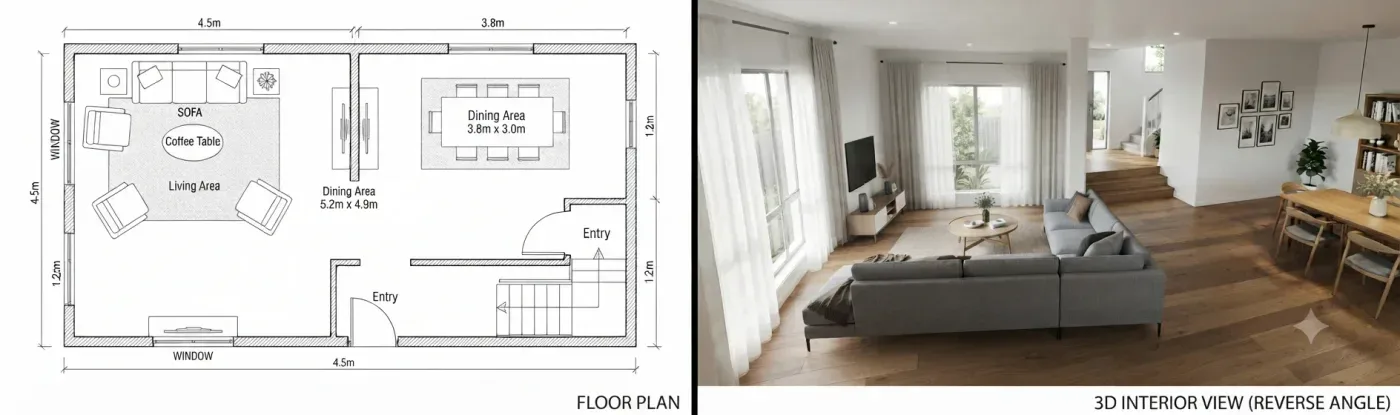
A floor plan with steps between levels beside a 3D-style interior view of the same space

Scenario 3

The photos undersell the layout — awkward or split-level plans

  1. Step 1

    Split levels, L-shaped rooms and converted lofts are exactly where photographs fail. A clean 2D plan explains the circulation in one image.

  2. Step 2

    Add a 3D-style image generated from the 2D plan when the level changes matter, so the relationship between floors is easier to picture before a viewing.

  3. Step 3

    Buyers arrive already oriented, and the viewing is spent on the property rather than on re-explaining where everything is.

Listing toolkit

Six habits that make real estate floor plans actually work

A plan buried at the end of the photo set does very little. These are the details that decide whether it gets looked at.

  1. Put the plan near the top of the photo set

    Early enough that people see the layout before the bedroom photos, so every image afterwards has somewhere to sit in their head.

  2. Label every room and put dimensions on it

    The dimension answers the question before it is asked. A room labelled with its size is a room someone can measure their own furniture against.

  3. Keep one plan style across all your listings

    Same style preset, same colours, same labelling. Consistency is what makes a set of listings look professionally documented.

  4. Reference the plan in the description

    One sentence pointing at it is enough. Portals bury images, and a reader who is told the plan exists will go and find it.

  5. Send the plan before the viewing

    It costs nothing and it qualifies. Anyone who still wants to come has already accepted the layout.

  6. Note the total and per-room areas

    Take them from your own measurements, not from the image. Areas from one measured source agree with each other; areas read off a generated picture are only approximate.

Worked example

How the workflow plays out on a three-bedroom listing

An illustration of the steps rather than an account of a sale. It follows one property from the measured walk-through to a published plan, using only what the product does today.

  1. On the photography visit, record wall lengths, door and window positions and ceiling heights room by room.

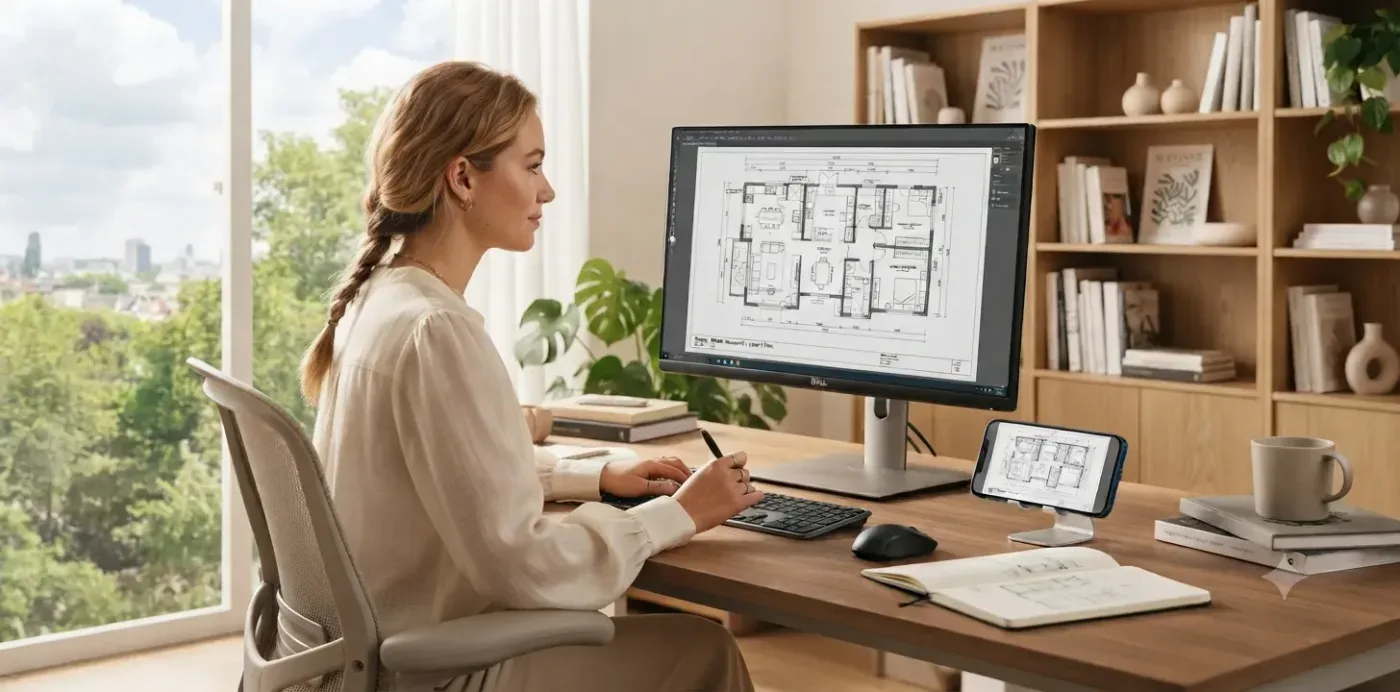
  2. Type those measurements into a room-by-room description and generate the plan, or upload the sketch you drew on site and describe the clean version you want.

  3. Ask for room names and sizes in the description, pick the style you use across all listings, and check each label against your notes.

  4. Open the result full size in your browser and use that image for the portal and the brochure; if a label is wrong, upload the image and describe the correction.

  5. Place the plan near the top of the image order and reference it in the first paragraph of the description.

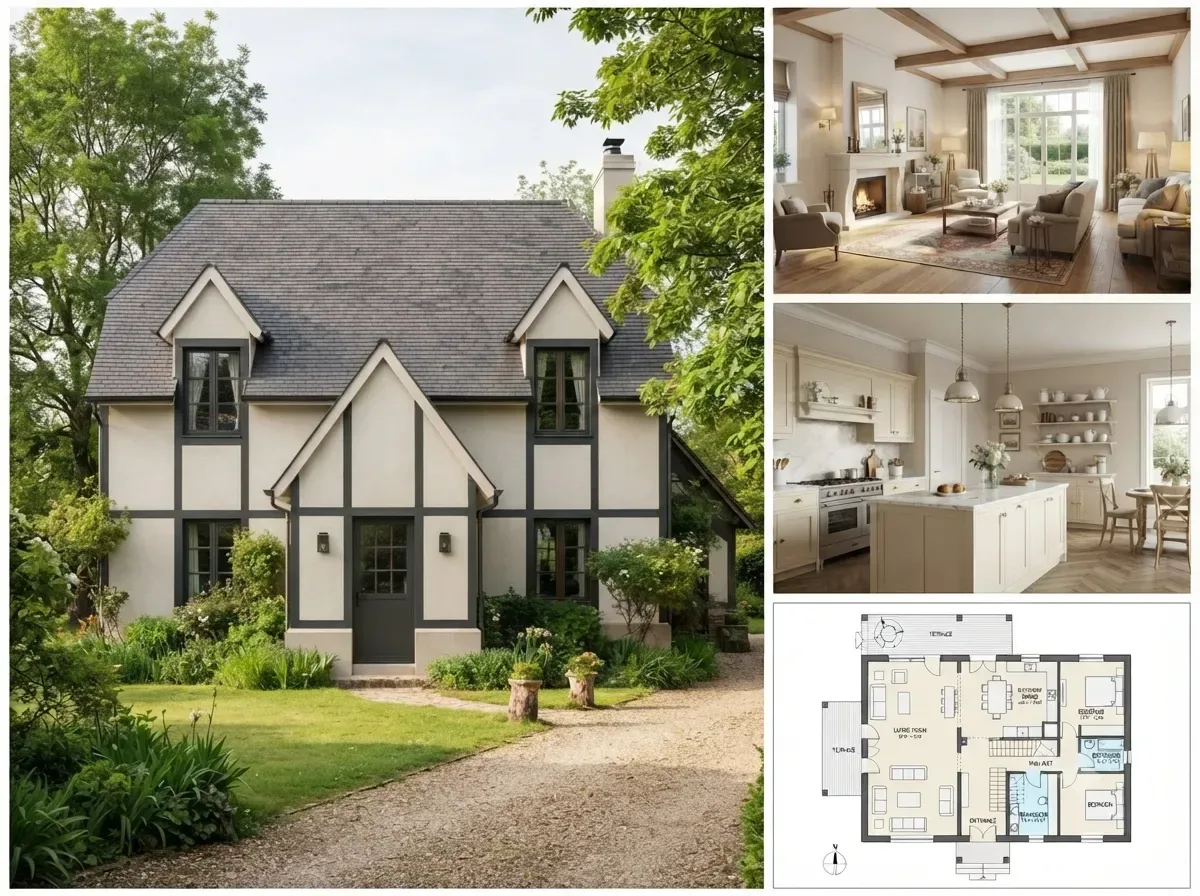
A property listing presentation showing photography alongside a floor plan
A listing image set: exterior and interior photos alongside a floor plan

What you end up with

The listing now answers layout questions on its own. Enquiries arrive about a specific room or a specific unit instead of about the shape of the property, and the drawing is reusable for the brochure, the window card and the portal.

Questions agents ask about listing floor plans

The measuring is the slow part. Once the room sizes are written down, generating a straightforward apartment or house usually takes one or a few runs, plus a quick check of the labels against your notes. A tidy existing plan or sketch is the fastest starting point.

An image you open full size in the browser, which suits portals, social posts and email. PDF and DXF export is planned, not live yet, so anyone who needs the plan in CAD will have to redraw it.

Yes. Pick one style preset — Technical, Colored 2D or Blueprint, for example — and use it for every listing. A consistent look across a portfolio is what makes the plans read as part of your presentation rather than as one-offs.

Yes. Generate each unit type once in the same style and reuse that image for every apartment of that type. Repeat layouts are exactly the case where one good plan image pays for itself.

No. It runs in the browser and you work by describing what you want, not with drawing or CAD commands. There is no DXF export yet; it is planned, not live.

Treat them as layout illustrations. Room shapes and sizes in a generated image are approximate, so check every label against your own measurements and mark the plan as indicative and not to scale in the listing.

Yes. Upload one photo of an empty room and describe the furniture style, and the virtual staging tool returns a furnished version of that photo. It uses purchased credits, and staged photos should be marked as virtually staged wherever your portal or local rules require it.

New accounts get 10 free credits, which can be spent on the Z-Image model at 2 credits per image. Every other model, including the upload-based tools, uses credits from a plan or a one-time pack on the pricing page.

Add a floor plan to the next listing

Generate it in the browser the same day you take the photographs, check the labels against your notes, and add it to the image set.