
For Homeowners

Floor plans for homeowners: plan the room before anyone picks up a hammer

A kitchen remodel, a new bedroom, or working out whether the sofa actually fits. Every one of those starts with a picture of the layout — describe the room or upload a photo of your sketch, and an AI model turns it into a floor plan image. No CAD to learn.

Two people at a table covered in printed floor plans, with a laptop showing a plan, paint swatches and a tape measure

The renovation reality

You are not an architect. You just want a better kitchen.

The usual sequence is a sketch on paper, a conversation on site, and a quote that turns out to describe something slightly different from what you had in mind. The island ends up in front of the fridge door. The changes you never asked for still get billed.

What closes that gap is not more meetings — it is a dimensioned drawing that says what stays, what goes, and how big everything is. Once every contractor is quoting from the same drawing, the quotes become comparable.

For this stage you do not need an architect. You need your own measurements, a clear picture of the layout you want, and something visual to hand over. Structural work, measured drawings and permits still belong with a licensed professional; the plan image is what you bring to that conversation.

A couple relaxing on a sofa in their living room

Three common projects

How homeowners use floor plans on three common projects

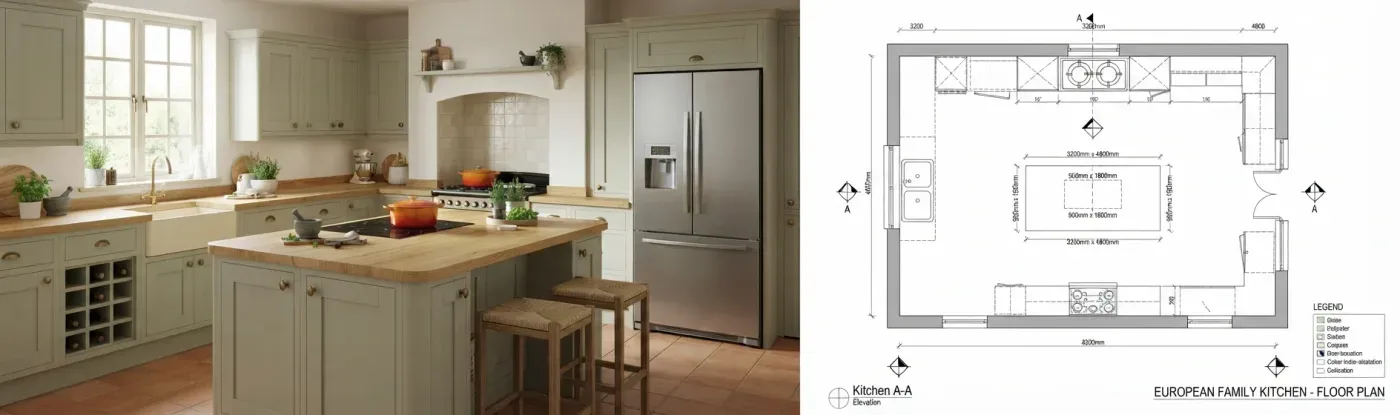
A kitchen photo beside a technical floor plan of the same kitchen with a central island

Scenario 1

Should that wall come out? Planning a kitchen remodel

  1. Step 1

    Describe the kitchen you have — room dimensions, where the appliances sit, which wall you are asking about — and let the generator draw it, or upload a photo of your sketch and have it converted into a clean plan.

  2. Step 2

    Generate the layouts you are weighing: island in the middle, peninsula along the wall, or an L-shape with a breakfast nook. Put the images side by side and check walkway gaps and appliance door swings against your own tape measurements.

  3. Step 3

    Send the same layout image to every contractor you are asking, with your measurements written alongside. Same layout, same numbers, quotes you can line up next to each other.
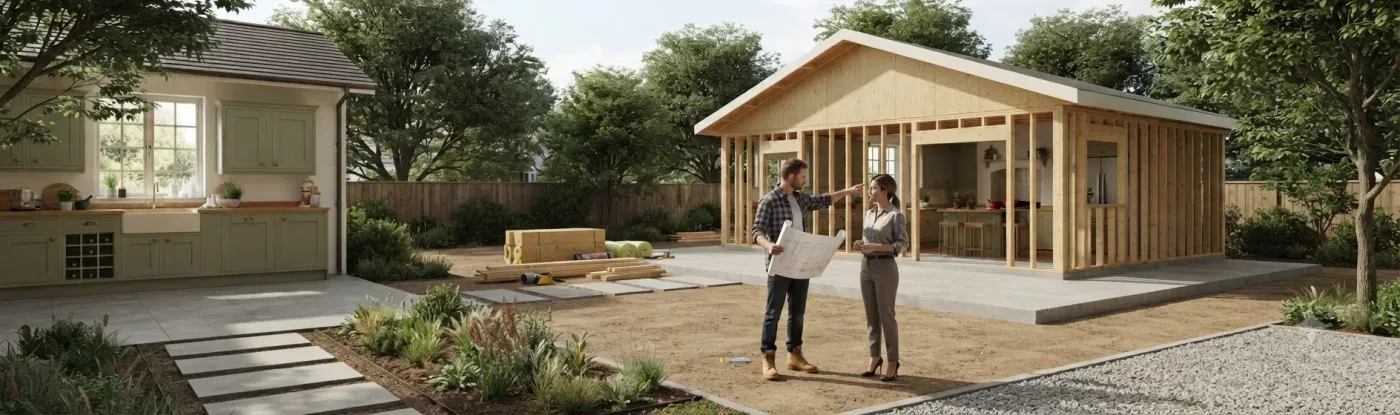

Two people with a drawing beside a timber-frame garden extension under construction

Scenario 2

Where would the extension even go? Adding a bedroom

  1. Step 1

    Write down what the room has to contain — double bedroom, walk-in wardrobe, en-suite, facing the garden — and generate a few layout options to react to instead of starting at a blank page.

  2. Step 2

    Check the things a render will not tell you: which windows the addition blocks, how far it sits from the existing bathroom stack, and whether the hallway still works once the door is in.

  3. Step 3

    Take the option you prefer to your architect or engineer as a reference image. They produce the measured drawings, so the first conversation is about structure rather than about what you meant.

The same living room shown almost empty and then furnished with a sectional sofa and rug

Scenario 3

Does the furniture fit? Moving into a new place

  1. Step 1

    No plan of the new place? Describe the rooms with their wall lengths, door openings and window positions, and generate a layout image to work from. Treat its proportions as approximate.

  2. Step 2

    Upload that image and describe the furniture you already own — sofa, dining table, bed — to see one way it could be arranged. Confirm the tight spots with a tape measure rather than trusting the picture.

  3. Step 3

    Turn the 2D plan into a 3D-style image of the rooms before moving day, so you have a picture of where each large item is meant to go before it comes off the van.

Homeowner toolkit

Six things worth doing before you call a contractor

None of these need software to start. They are the inputs that make a plan — and therefore a quote — accurate.

  1. Measure everything, twice

    Wall lengths, door openings, window positions, ceiling height. Write them down as you go. Every one of them is a detail worth putting in the description when you generate the plan.

  2. Work out what cannot move

    Load-bearing walls, soil and plumbing stacks, the consumer unit, the boiler flue. These anchor the layout; everything else is negotiable.

  3. Draw the before as well as the after

    Two plans side by side show the scope at a glance. It is far harder to disagree about what is changing when both states are drawn.

  4. Work out your areas from your measurements

    Use your own measurements and the area calculator for floor, wall and opening sizes, so flooring, paint and tile quantities stop being a guess. A generated image is approximate, so do not scale quantities off it.

  5. Ask everyone to quote the same plan

    Without a shared drawing, each contractor measures and assumes differently, and the cheapest quote is usually just the one that scoped least.

  6. Put the agreed scope in the contract

    Write the agreed layout and your list of changes into the contract, with measured drawings wherever the work needs them. Anything beyond that scope is then a change order, by definition.

Worked example

How the workflow plays out on a typical kitchen remodel

This is an illustration of the steps, not a customer story. It follows one closed-off kitchen from measurements to a plan a contractor can quote, using only features the product has today.

  1. Measure the existing kitchen and note the wall lengths, the two door openings, the window, and the position of the waste stack.

  2. Type those measurements into a description of the current kitchen and generate a plan image of it, to keep as the before picture.

  3. Upload that image and describe the change: take out the non-structural partition and add an island. Check the clearance on either side against the tape measure, not the picture.

  4. Generate a second option with a peninsula instead of an island, and keep both versions so they can be compared rather than remembered.

  5. Send the chosen layout image, with your written measurements and room names, to each contractor. Anything structural goes to a licensed professional for measured drawings.

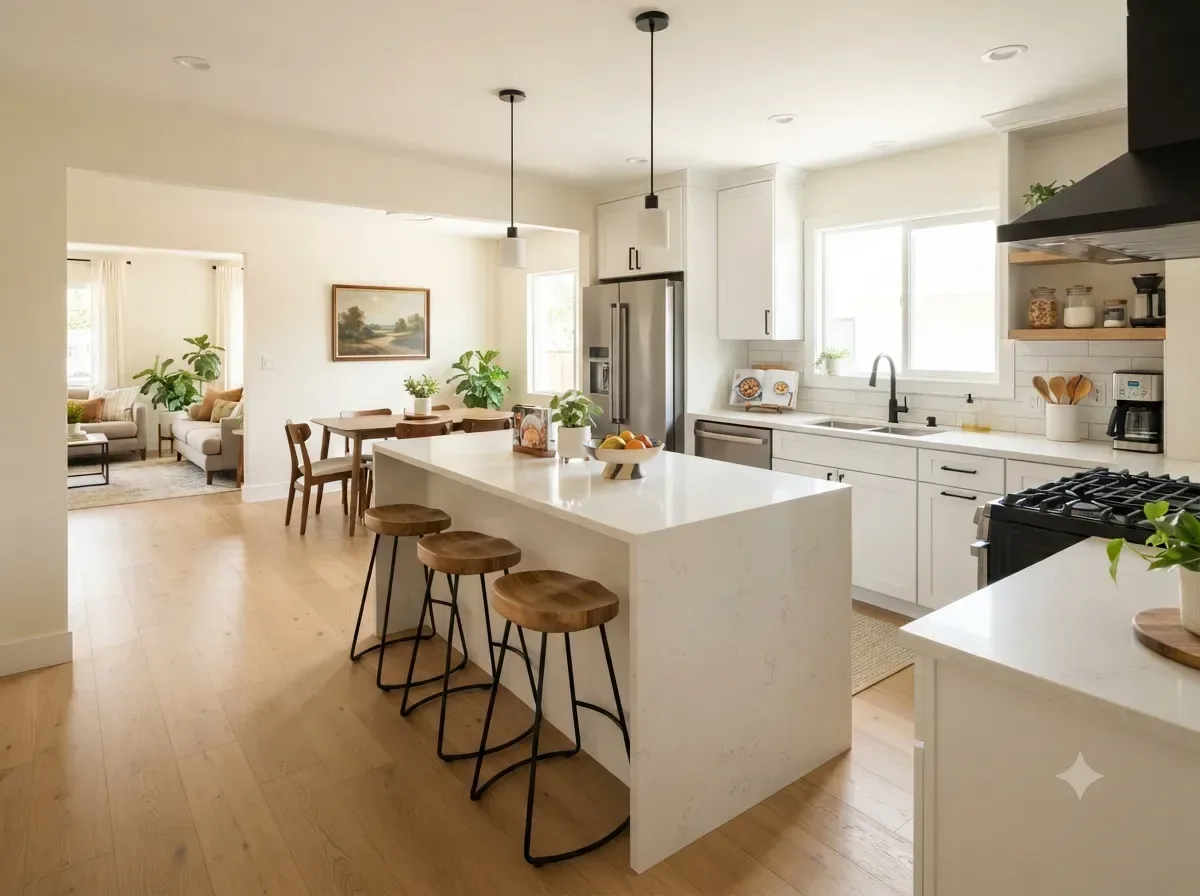
An open-plan kitchen with a white island and three bar stools, with dining and living areas beyond
An open-plan kitchen with an island, the kind of result this example works toward

What you end up with

The output is two images of the same room — current and proposed — plus one set of measurements you took yourself. That is what makes three quotes comparable, and what gives the scope of work a concrete starting point before a professional draws it up for the contract.

Questions homeowners ask about floor plans

For early planning, no — you can test layouts and set the scope yourself. For structural changes, building control or planning permission, yes: bring a licensed professional in, and bring your plan with you so the conversation starts from something concrete.

Start from what already exists. Upload a photo of a rough sketch or an old plan and describe what you want changed, or type out the room dimensions and let the generator lay it out. Then refine by uploading the result with a new instruction, rather than starting from a blank page.

Yes, as a starting point. Send the same layout image and your own measurements to everyone you are asking, so each quote describes the same layout. Dimensions in a generated image are approximate, so the contractor should confirm them on site.

A before-and-after plan, a written list of what stays and what changes, and rough quantities for the main materials. The more of that exists on paper, the fewer decisions get made mid-build at short notice.

A floor plan image in the style you choose — Technical, Blueprint, Colored 2D, 3D Isometric, Realistic or Collage — that you open full size in your browser. PDF and DXF export is planned, not live yet, and the images are not permit-ready drawings.

No. Dimensions in a generated image are approximate. Use it to compare layouts and brief people; for anything you build, order or submit for approval, rely on your own measurements and drawings from a licensed professional. The images are not permit-ready.

The calculators, unit converters and symbol guide are free to use, the template library is free to browse, and new accounts get 10 free credits for the Z-Image model. Other models spend credits bought from the pricing page. Everything runs in the browser, so there is nothing to install.

Start the project with a plan, not a guess

Describe the room, compare layout images in your browser, and brief your contractor with a clear picture. Nothing to install.