
For Builders & Contractors

Floor plans for contractors: from site visit to scoped plan the same day

You measure, you sketch, and then you wait on a draughtsperson while the client changes their mind and your estimate window closes. Generating the layout from your own notes takes that wait out of the early conversations.

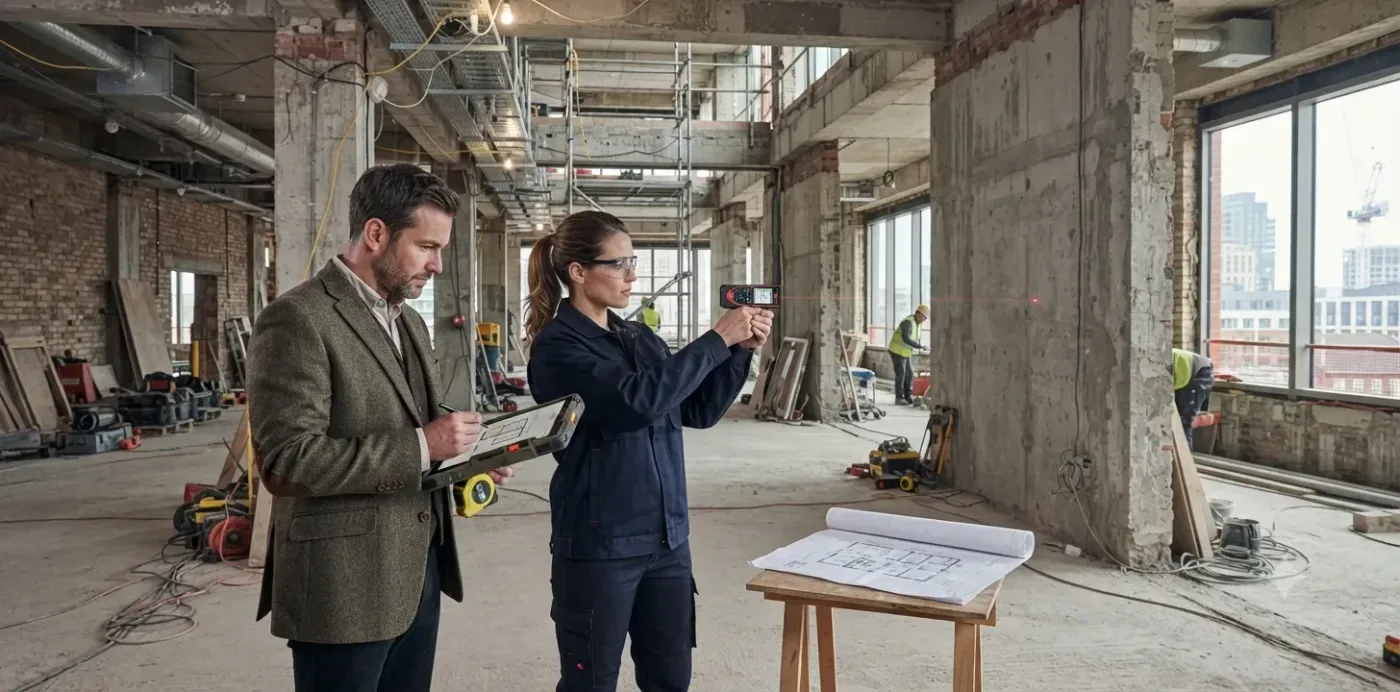
Two people measuring an unfinished interior with a laser measure, with drawings on a trestle table

The jobsite reality

The drawing should not take longer than the work

You walk the job, take the measurements, and hand them to someone who is already behind. While the drawing sits in a queue, the client rethinks the brief and the material prices you quoted against move.

Most of the arguments later in a job trace back to the same gap: what the client pictured, what the drawing showed, and what the crew built were three slightly different things that nobody compared in advance.

A shared plan closes that gap because it is a single picture everyone can point at. The client agrees the scope against it and change orders start from it rather than from memory, while the drawings the crew builds from still come from measured, professional work.

A contractor in a hard hat reading printed plans in an unfinished room

Three jobsite situations

Three jobs, three plans, fewer punch-list arguments

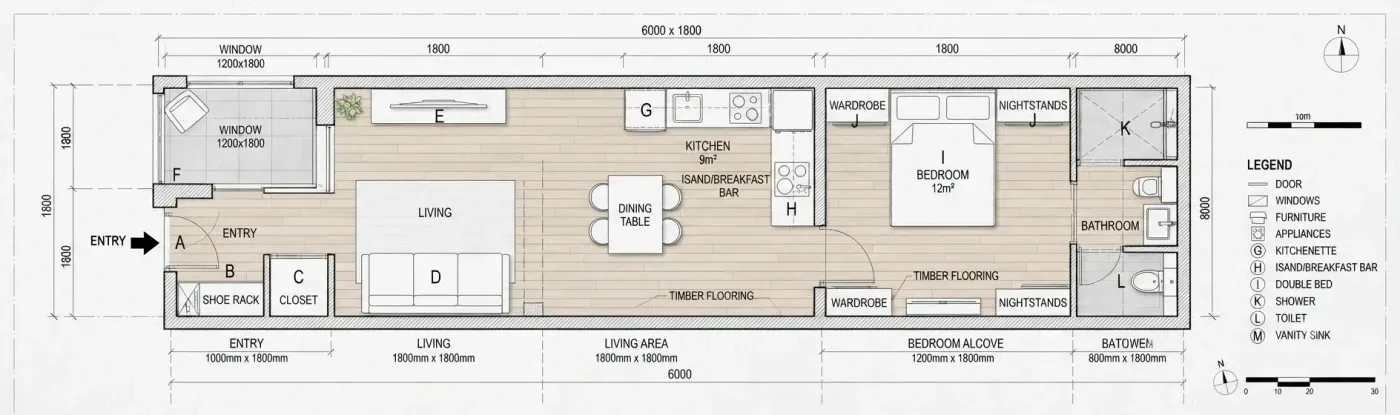
A long, narrow apartment plan with a legend, room labels and dimension lines

Scenario 1

I need a picture of the existing layout before I can bid — home renovation

  1. Step 1

    Walk the site with the laser measure and record wall lengths, opening widths, window positions and ceiling heights as you go.

  2. Step 2

    Describe the existing layout from those measurements and generate a plan image, then upload it and ask for the scope to be marked: wall to remove, new opening, stack stays where it is.

  3. Step 3

    Keep your takeoffs on your own measurements and the area calculator. The image explains the scope; its dimensions are approximate.
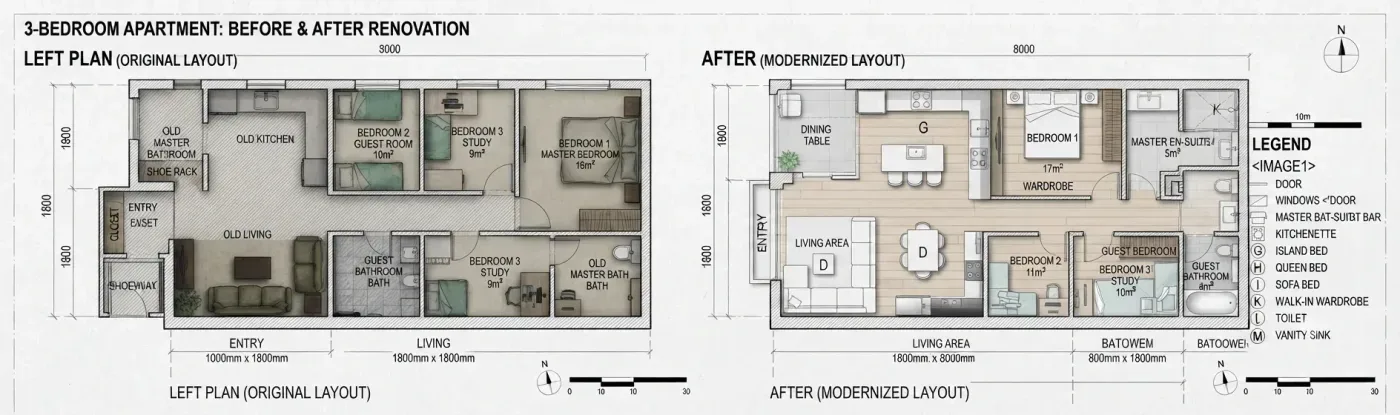
Before and after scope drawings for a renovation

Scenario 2

The client wants to see what is changing — walkthrough and sign-off

  1. Step 1

    Generate the before from your site notes, then upload it and describe the after, so both images start from the same layout.

  2. Step 2

    Present the two side by side. What stays and what changes stops being a description and becomes something the client can see at a glance.

  3. Step 3

    Use the pair to agree the scope in writing, and base the contract exhibit on measured drawings, so anything outside it is a change order by definition rather than by argument.

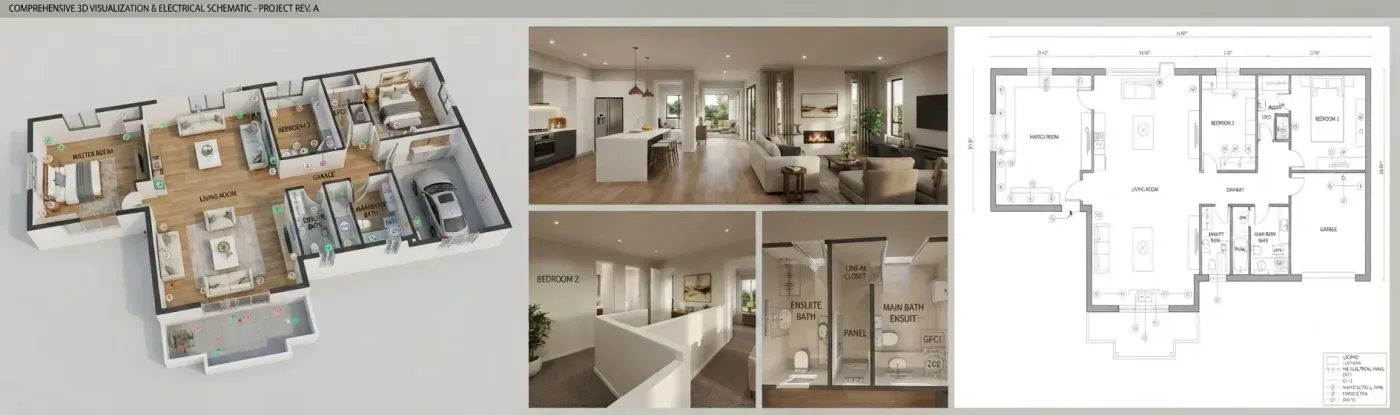
A 3D cutaway, interior renders and an electrical layout plan of a single-storey house

Scenario 3

Three other firms are bidding this — competitive proposals

  1. Step 1

    Generate a scope plan image from the client brief or a photo of their existing drawings, so your bid describes a specific piece of work.

  2. Step 2

    Place the image in your quote next to your company details, so it goes out as one document rather than as a price with an explanation attached.

  3. Step 3

    A bid that arrives with a drawing reads as lower risk, because the client can see exactly what has and has not been priced.

Jobsite toolkit

Six things that separate a tight bid from a hopeful one

Every one of these is about making the scope explicit before the work starts, which is the only point at which it is cheap to change.

  1. Send a scope plan image with every bid

    It shows the client the estimate has a basis, and it gives you something to point at when the brief drifts three weeks in.

  2. Take off quantities from your own measurements

    Keep every quantity tied to a surface you measured on site. A generated image explains the scope, but its dimensions are approximate.

  3. Mark the structure clearly

    Load-bearing walls, plumbing stacks, panels and service runs, labelled on the drawing, so the crew knows what is untouchable without ringing you.

  4. Draw before and after for every renovation

    Two drawings define the deliverable. One drawing plus a conversation defines an expectation, which is not the same thing.

  5. Agree the scope in writing

    Use the before and after images to agree what is included, and base any contract exhibit on measured drawings. Additions then need a change order, which is a much shorter conversation when it is written down.

  6. Keep a library of standard layouts

    Bathrooms, basement finishes and standard extensions repeat. Saving them as reusable plans cuts the drawing time on the next one of the same shape.

Worked example

How the workflow plays out on a single-storey extension bid

An illustration of the sequence rather than a customer account. It follows one job from the site visit to a bid package, using only capabilities the product has today.

  1. Measure the existing rear rooms on the site visit and record openings, ceiling heights and the position of the drainage.

  2. Describe the existing rooms from those measurements, or upload a photo of your measured sketch, then generate a plan image and keep it as the before picture.

  3. Upload that image and describe the proposed layout and scope: wall removed, new opening formed, services relocated.

  4. Take the floor, wall and opening areas from the site measurements, not the image, for the flooring, board, plaster and glazing lines of the estimate.

  5. Attach both images to the quote to show the scope, and have anything structural or permit-related drawn and checked by a licensed professional.

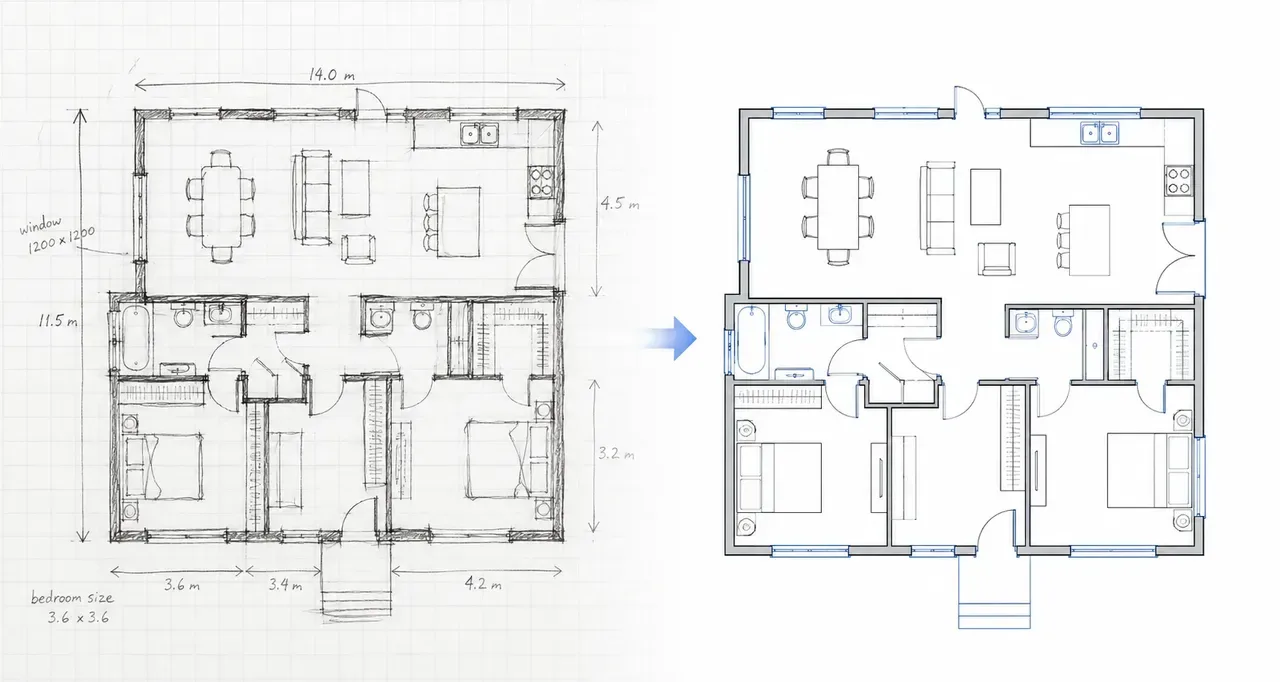
A measured hand sketch of a house plan beside the same layout redrawn as a clean floor plan
A measured site sketch beside a clean plan image of the same layout

What you end up with

The bid goes out as a price plus a picture of the scope it was priced from. The client can see what is and is not included, and any addition is visibly an addition rather than an assumption someone else made.

Questions contractors ask about scope plans

Only through the description. You can ask for labels such as load-bearing wall, plumbing stack or scope boundary and the model draws them into the image, but there is no annotation tool and generated text should be proofread. Critical construction notes belong on measured drawings.

Yes, into a clean plan image. Photograph or scan the sketch, upload it and describe what you want, instead of redrawing it from scratch back at the office. The result is an image, not an editable or measured drawing.

The result is an image, so it opens on any phone or tablet without special software. DXF export for CAD and estimating packages is planned, not live yet.

Not accurate enough for takeoffs. Dimensions in a generated image are approximate, so take quantities from your site measurements. The images are not permit-ready, and anything structural should be confirmed by a licensed professional before it is built.

Yes. Keep the plan images for layouts you build repeatedly — standard bathrooms, basement finishes, common extension footprints — and upload one with a described change to start the next job of that type.

No. The images are not permit-ready: dimensions are approximate and there is no measured or CAD output. Use them to explain scope to clients and crews, and get permit drawings from a licensed architect or engineer.

New accounts get 10 free credits, which can be spent on the Z-Image model at 2 credits per image. Every other model, including the upload-based tools, uses credits from a plan or a one-time pack on the pricing page.

Bid the next job with a drawing attached

Measure on site, generate the layout image in the browser the same day, and send the quote with a picture of the scope it was priced from.